K230 GPU Application Practice - Drawing Cool Graphics with VGLite#
Preface#
Overview#
This document mainly introduces how to use the K230 GPU to draw vector graphics.
Audience#
This document (this guide) is mainly intended for:
Technical Support Engineers
Software Development Engineers
Acronym Definitions#
Abbreviation |
Full Name |
|---|---|
GPU |
Graphics Processing Unit |
SVG |
Scalable Vector Graphics |
DRM |
Direct Rendering Manager |
Revision History#
Document Version |
Modification Description |
Modifier |
Date |
|---|---|---|---|
V1.0 |
Initial version |
Huang Ziyi |
2023-06-20 |
Concept Introduction#
Basics of Vector Graphics#
Vector graphics are images represented by geometric primitives such as points, lines, or polygons based on mathematical equations. Unlike bitmaps that use pixels to represent images, vector graphics can be infinitely enlarged without distortion. SVG is a typical vector graphic format, which is an XML text file describing the positions of various primitives. You can view the rendered effect by opening it with a browser. If you are completely unfamiliar with the VGLite API used by the K230 GPU, you can think of it as a simplified version of SVG.
The K230 GPU supports various 2D primitives:
Lines
Quadratic Bézier curves
Cubic Bézier curves
Circular arcs (which can also be approximated using cubic Bézier curves)
Note: These graphics are all lines. The GPU cannot directly draw lines; it can only draw closed shapes formed by these lines.
GPU Basics#
On the K230 SDK’s small-core Linux, interaction with the GPU is mainly done by calling the VGLite API. VGLite internally maintains a command queue for the GPU. When rendering needs to be completed, or when the queue is full, it will be submitted to the GPU hardware for rendering. The default length of the command queue is 65536, which can be modified by calling the vg_lite_set_command_buffer_size function.
Note: The VGLite API does not support use in a multi-threaded context. If your application uses multiple threads, ensure that only one thread will use the VGLite API.
The K230 GPU is a memory-to-memory device and does not have display output capabilities. If display output is needed, it can be used in conjunction with DRM.
Using the VGLite API#
Preparing the Development Environment#
The VGLite API mainly consists of two parts: header files and library files. The location of the header files is:
<K230 SDK>/src/little/buildroot-ext/package/vg_lite/inc/vg_lite.h
After compiling the K230 SDK completely, the library files will be placed at:
<K230 SDK>/output/k230_evb_defconfig/little/buildroot-ext/target/usr/lib/libvg_lite.so
make#
Place the source files of your code in the src directory, create a Makefile, and paste the following content into it. Set the K230SDK environment variable to the path where the K230 SDK is stored (or change /path/to/k230_sdk in the first line to the path where the K230 SDK is stored). You can then use the make command to build. After building, an executable file will be generated in the same directory as the Makefile. Copy it to the small-core Linux for execution, or use make install to copy it to the K230 SDK, then build the image in the K230 SDK directory, and burn it to the SD card or eMMC to start.
K230SDK ?= /path/to/k230_sdk
BIN := test-vglite

CC := "$(K230SDK)/toolchain/Xuantie-900-gcc-linux-5.10.4-glibc-x86_64-V2.6.0/bin/riscv64-unknown-linux-gnu-gcc"
CXX := "$(K230SDK)/toolchain/Xuantie-900-gcc-linux-5.10.4-glibc-x86_64-V2.6.0/bin/riscv64-unknown-linux-gnu-g++"

CFLAGS += -I"$(K230SDK)/src/little/buildroot-ext/package/vg_lite/inc" -I"$(K230SDK)/output/k230_evb_defconfig/little/buildroot-ext/host/riscv64-buildroot-linux-gnu/sysroot/usr/include"
CFLAGS += -L"$(K230SDK)/output/k230_evb_defconfig/little/buildroot-ext/target/usr/lib"
CFLAGS += -lvg_lite -lvg_lite_util -ldrm
CFLAGS += -Wall -g

CXXFLAGS := $(CFLAGS)

SRCDIR := ./src
OBJDIR := ./objs
SRCS := $(wildcard $(SRCDIR)/*.c) $(wildcard $(SRCDIR)/*.cpp)
OBJS := $(patsubst $(SRCDIR)/%.c,$(OBJDIR)/%.o,$(filter %.c, $(SRCS))) \
        $(patsubst $(SRCDIR)/%.cpp,$(OBJDIR)/%.o,$(filter %.cpp, $(SRCS)))
DEPS := $(patsubst $(SRCDIR)/%.c,$(OBJDIR)/%.d,$(filter %.c, $(SRCS))) \
        $(patsubst $(SRCDIR)/%.cpp,$(OBJDIR)/%.d,$(filter %.cpp, $(SRCS)))

all: $(BIN)

$(OBJDIR):
	mkdir -p $(OBJDIR)

$(BIN): $(OBJS)
	$(CXX) $(CXXFLAGS) $(OBJS) -o $@

$(OBJDIR)/%.o: $(SRCDIR)/%.c | $(OBJDIR)
	$(CC) $(CFLAGS) -MMD -c $< -o $@

$(OBJDIR)/%.o: $(SRCDIR)/%.cpp | $(OBJDIR)
	$(CXX) $(CXXFLAGS) -MMD -c $< -o $@

-include $(DEPS)

clean:
	rm -rf $(OBJDIR) $(BIN)

install:
	cp $(BIN) "$(K230SDK)/output/k230_evb_defconfig/little/buildroot-ext/target/usr/bin"

uninstall:
	rm "$(K230SDK)/output/k230_evb_defconfig/little/buildroot-ext/target/usr/bin/$(BIN)"

.PHONY: all clean install
CMake#
Place the source files of your code in the src directory, create a CMakeLists.txt file, and paste the following content into it. Modify /path/to/k230_sdk on the third line to the directory where the K230 SDK is stored. You can then use cmake to build.
cmake_minimum_required(VERSION 3.0)
project(test-vglite)
set(K230SDK /path/to/k230_sdk)

set(CMAKE_C_COMPILER "${K230SDK}/toolchain/Xuantie-900-gcc-linux-5.10.4-glibc-x86_64-V2.6.0/bin/riscv64-unknown-linux-gnu-gcc")
set(CMAKE_CXX_COMPILER "${K230SDK}/toolchain/Xuantie-900-gcc-linux-5.10.4-glibc-x86_64-V2.6.0/bin/riscv64-unknown-linux-gnu-g++")
set(CMAKE_C_FLAGS "-Wall")
set(CMAKE_CXX_FLAGS "-Wall")

include_directories(
    "${K230SDK}/output/k230_evb_defconfig/little/buildroot-ext/host/riscv64-buildroot-linux-gnu/sysroot/usr/include"
    "${K230SDK}/src/little/buildroot-ext/package/vg_lite/inc"
)

link_directories("${K230SDK}/output/k230_evb_defconfig/little/buildroot-ext/target/usr/lib")
link_libraries(vg_lite vg_lite_util drm)

file(GLOB SOURCES "src/*.c" "src/*.cpp")

add_executable(${PROJECT_NAME} ${SOURCES})

install(TARGETS ${PROJECT_NAME} DESTINATION "${K230SDK}/output/k230_evb_defconfig/little/buildroot-ext/target/usr/bin")
Display#
The K230 EVB has a 1080x1920 display. On the small-core Linux, DRM can be used for display. Letting the GPU driver load the DRM dumb buffer can reduce memory copying and achieve efficient rendering. The GPU+DRM related code can be referred to in the vglite_drm demo. Readers can add drm.c to their programs.
Note that as of K230 SDK v0.8, the DRM driver on Linux cannot work independently and relies on the configuration of the SoC video output module by the large core. This can be done by executing sample_vo.elf 3 on the large core.
Additionally, the color format enumeration of DRM does not completely match vg_lite_buffer_format_t. For example, VGLITE_BGRA8888 represents a 32-bit color with red in the lowest 8 bits and alpha in the highest 8 bits, corresponding to DRM_FORMAT_ARGB8888 in DRM.

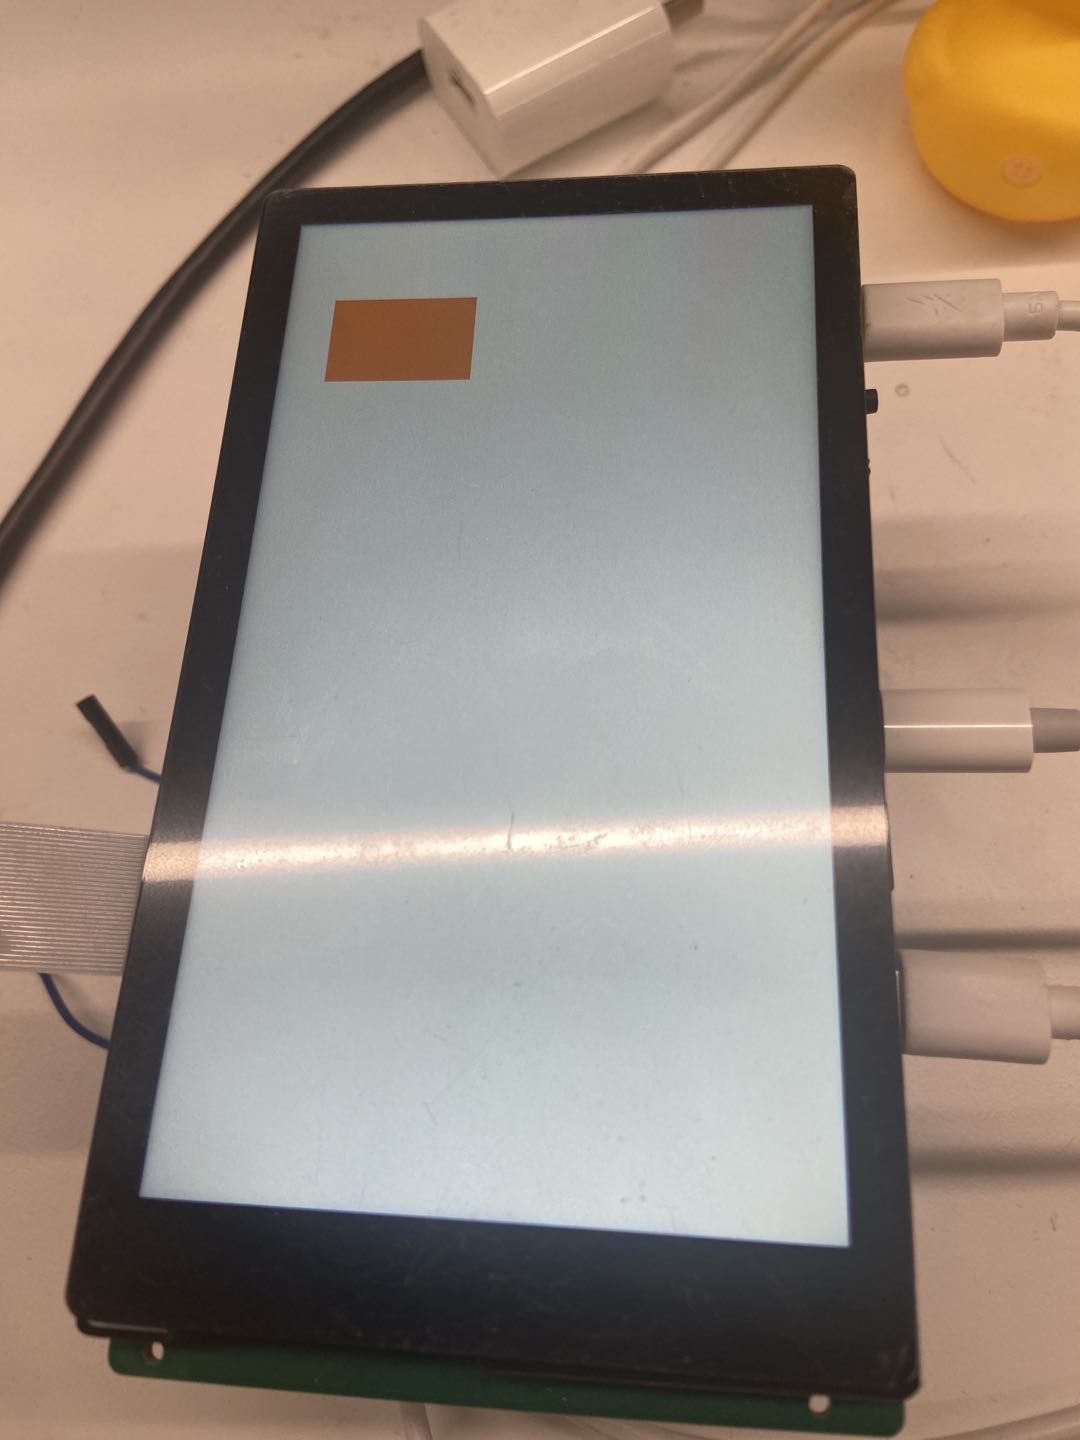
The image above shows the correct color displayed on the screen after running the vglite_drm demo: R(255)G(128)B(16).
Generally, to achieve synchronized display, two buffers are needed for ping-pong alternating display. However, to simplify the demonstration code, only one buffer is used here. Readers can implement double buffering with vertical synchronization for continuous rendering.
Drawing#
Some Preparations#
First, VGLite needs to be initialized by calling vg_lite_init. It has two parameters tessellation_width and tessellation_height, which are used for the size of the rendering window. The larger the size, the higher the efficiency. If set to 0, it means that the vector drawing function is not used, and only BLIT can be performed. Usually, it is set to the size of the largest buffer.
Rendering requires a buffer, which can be imported from DRM dumb as follows:
vg_lite_buffer_t buffer;
int buf_fd;
memset(&buffer, 0, sizeof(buffer));
buf_fd = drm_get_dmabuf_fd(0);
if (buf_fd < 0) {
    perror("get fd");
    return buf_fd;
}
memset(&buffer, 0, sizeof(buffer));
buffer.width = width;
buffer.height = height;
buffer.format = VG_LITE_ARGB8888;
buffer.stride = buffer.width * 4;
buffer.memory = drm_get_map(0);
if (vg_lite_map(&buffer, VG_LITE_MAP_DMABUF, buf_fd)) {
    perror("import dma-buf");
    return -1;
}
It can also be allocated from the GPU driver as an off-screen buffer, as follows:
vg_lite_buffer_t buffer;
memset(&buffer, 0, sizeof(buffer));
buffer.width = width;
buffer.height = height;
buffer.format = VG_LITE_ARGB8888;
if (vg_lite_allocate(&buffer)) {
    return -1;
}
Obviously, allocating an off-screen buffer is simpler, as it only requires configuring the resolution and pixel format. However, importing from DRM dumb requires calculating the stride (the number of bytes per line of pixels). The advantage of importing from DRM dumb is that it can be directly used for display.
Polygon#
With a buffer, you can start drawing. A polygon is composed of multiple lines. Taking a triangle as an example, first determine the coordinates of the three vertices of the triangle, such as (0,0) (0,1) (1,0). The entire process is as follows:
Move the pen to
(0,0)Draw a line to
(0,1)Draw a line to
(1,0)Draw a line to
(0,0)Close the shape
Refer to the K230 GPU API reference to see that the opcode for moving is 2, the opcode for drawing a line is 4, and the opcode for closing the path is 0. Using the first data format, you can construct the path_data array as follows:
uint8_t path_data[] = {
    2, 0, 0, // Move to (0,0)
    4, 0, 1, // Line to (0,1)
    4, 1, 0, // Line to (1,0)
    4, 0, 0, // Line to (0,0)
    0
};
Only path_data is not enough. Rendering requires a path, which includes not only path_data but also information such as data format. The data format can be specified as one of the following:
8-bit signed integer
16-bit signed integer
32-bit signed integer
32-bit floating-point number
From top to bottom, performance decreases sequentially. However, even an 8-bit signed integer does not mean that it can only cover the pixel range from -128 to 127, because matrix transformations are also needed to calculate the final coordinates. Now construct the path and draw it to the buffer:
vg_lite_path_t path = {
    .bounding_box = {0., 1., 1., 0.}, // Bounding box of the shape
    .quality = VG_LITE_HIGH, // Rendering quality
    .format = VG_LITE_S8, // Considering the coordinates are simple, 8-bit is sufficient
    .uploaded = 0, // The path hasn't been uploaded to the GPU, so use 0
    .path_length = sizeof(path_data), // Length of the path data in bytes
    .path = path_data, // The path data is placed here
    .path_changed = 1, // Indicates the path has been updated
    .pdata_internal = 0 // Indicates the path data is not allocated by the driver
};
With the above variables, you can perform rendering with the following steps:
Clear the buffer, i.e., fill it with a single color, which can be done using
vg_lite_clear.Create a transformation matrix. For information on matrices, refer to affine transformations. Here, we directly use a scaling matrix to enlarge the image by 100 times, so a line of length 1 will use 100 pixels in the image.
Call
vg_lite_drawto “render” the path to the buffer.Finally, use
vg_lite_finishto submit the rendering.
To facilitate error handling, use the CHECK_ERROR macro to wrap functions that return vg_lite_error_t.
vg_lite_matrix_t matrix;
CHECK_ERROR(vg_lite_clear(&buffer, NULL, 0xffff0000)); // Fill the entire buffer with blue
vg_lite_identity(&matrix); // Initialize to the identity matrix
vg_lite_translate(buffer.width / 2., buffer.height / 2., &matrix); // Move to the center of the buffer
vg_lite_scale(100., 100., &matrix); // Scale by 100 times in both x and y directions
CHECK_ERROR(vg_lite_draw(
    &buffer, &path,
    VG_LITE_FILL_NON_ZERO, // Fill rule, pixels are drawn as long as they are covered
    &matrix,
    VG_LITE_BLEND_NONE, // Color blending rule, None means ignore transparency and directly overwrite
    0xff0000ff // RGBA color, this value represents opaque red
));
CHECK_ERROR(vg_lite_finish()); // Submit to the GPU
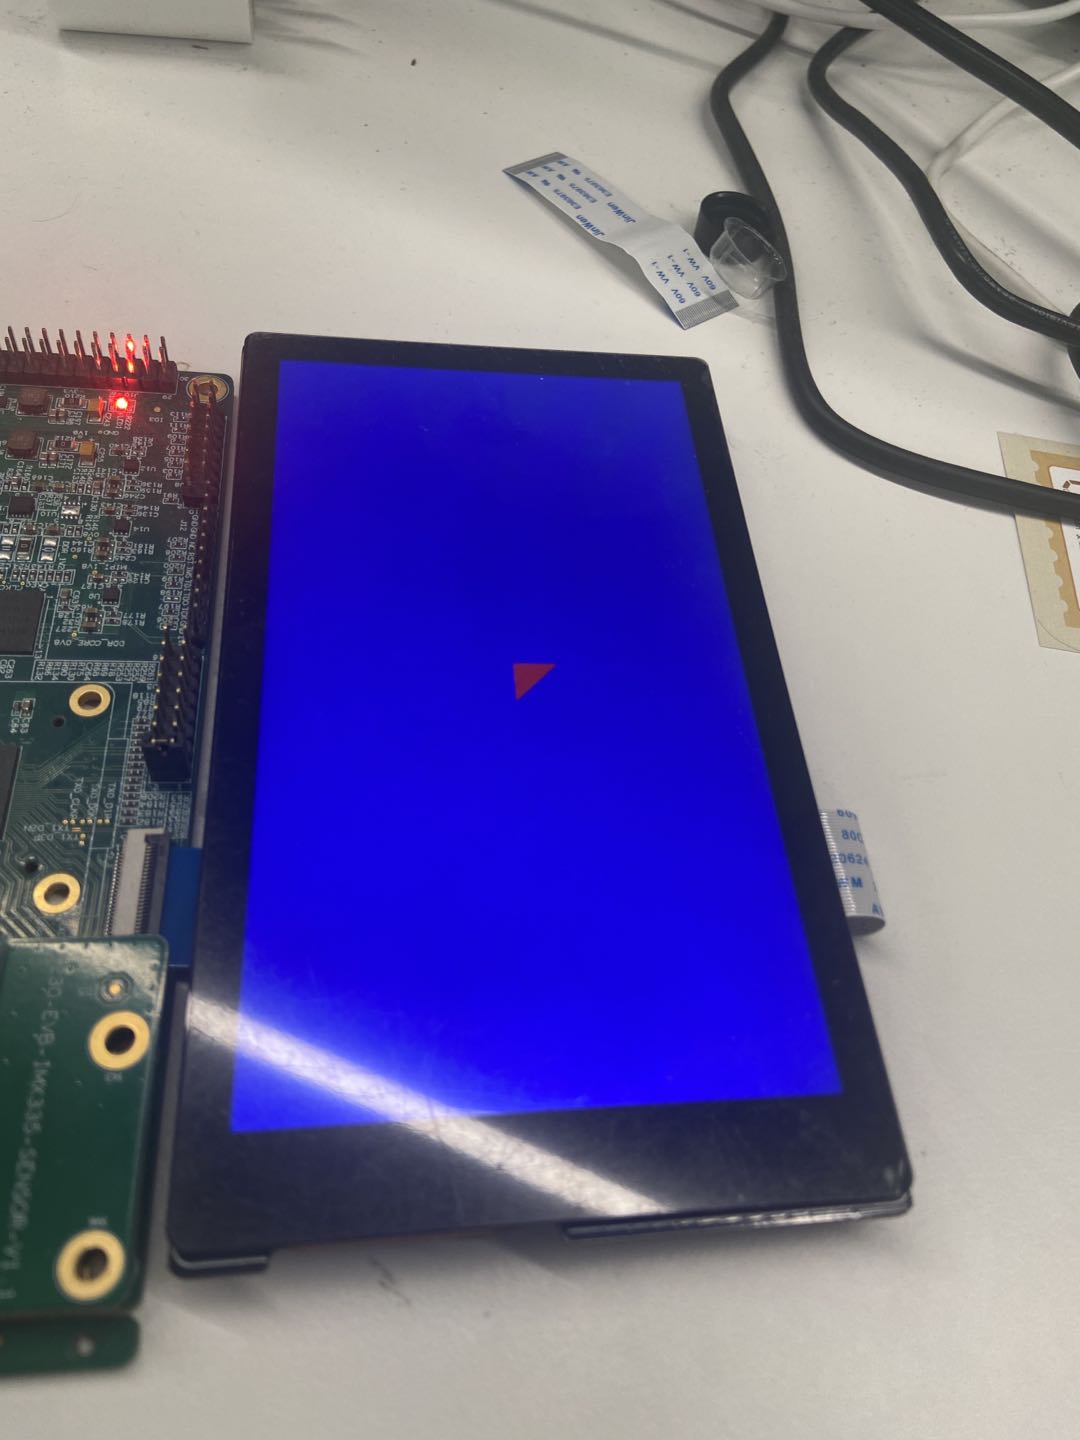
The complete reference code can be found in vglite_drm, and the result of the drawing is shown below.

It is easy to see that the coordinate system has the positive x direction to the right and the positive y direction downward, which is also the coordinate system used by SVG.
It should be noted that when I mentioned “rendering” with vg_lite_draw, it was in quotes because it doesn’t actually render; it just writes the rendering commands. The final rendering requires calling vg_lite_finish, which is beneficial for performance. In practical use, you can call vg_lite_draw multiple times and then execute vg_lite_finish just before the actual display, since vg_lite_finish is a system call with some overhead, while vg_lite_draw is not and can be executed very quickly.
After rendering is complete, you can display the result on the screen or save it as an image. Note that when saving an image, the CPU reads the data, so you need to ensure that vg_lite_buffer_t::memory is readable. If you use the DRM code above to create vg_lite_buffer_t, you won’t be able to read it if the DRM dumb is not mapped.
Curves#
The K230 GPU supports three types of curves:
Quadratic Bézier curves
Cubic Bézier curves
Elliptical arcs
Of course, elliptical arcs can be approximated using cubic Bézier curves, essentially making them the same type of curve. Similar to drawing polygons, you only need to modify the opcodes and data.
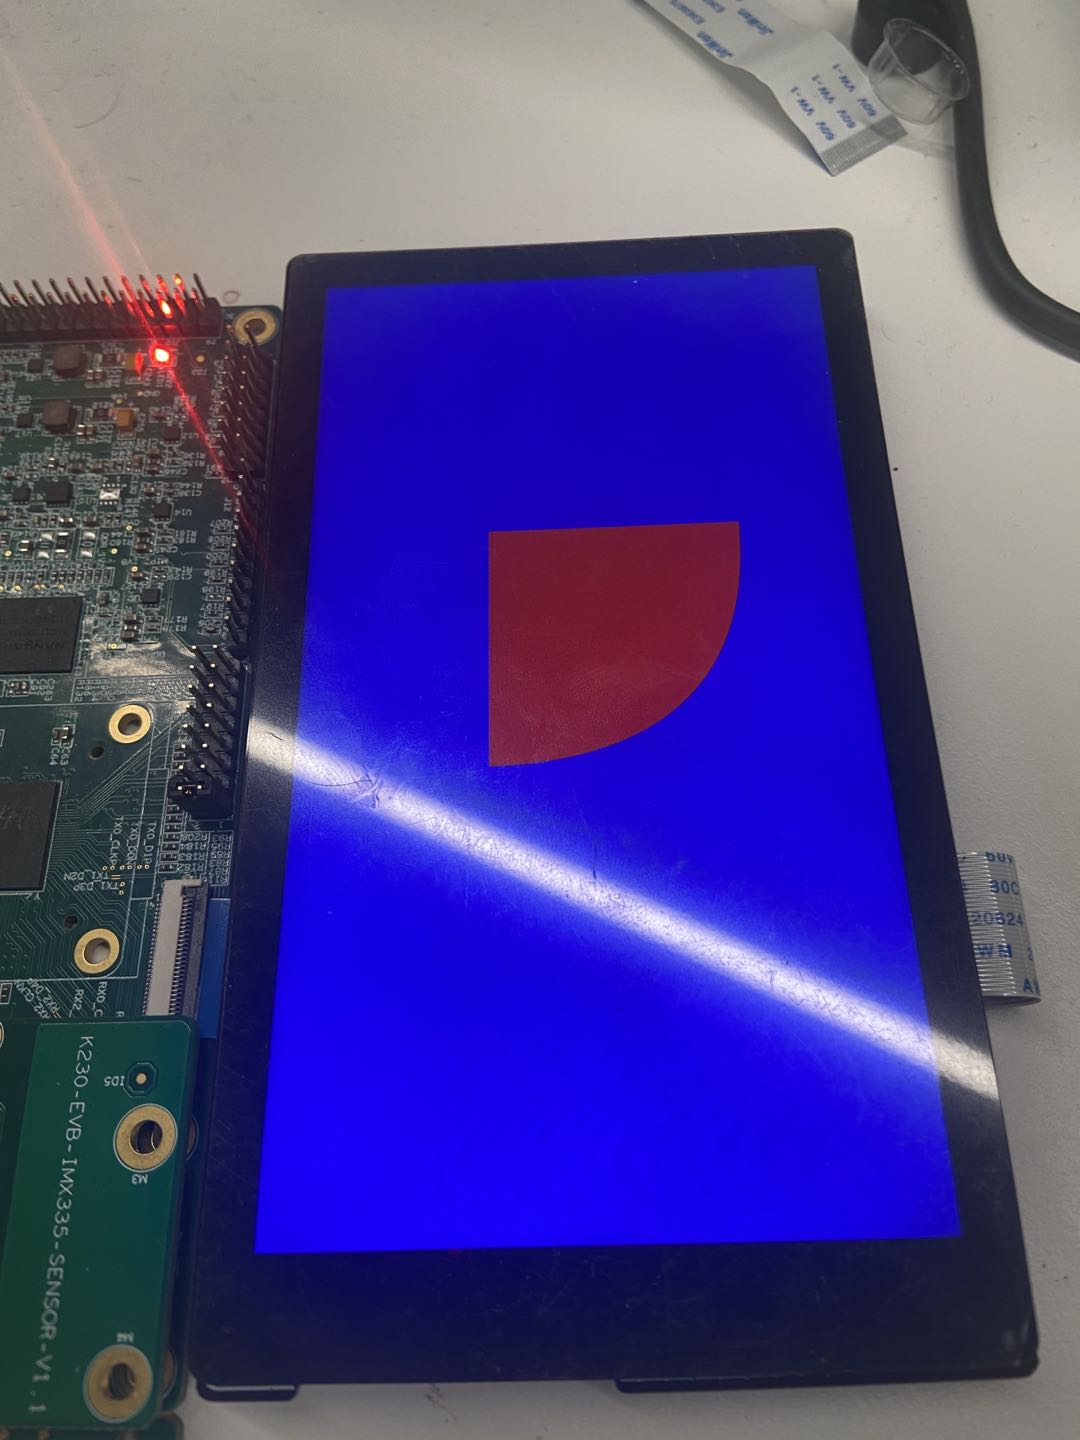
Let’s try changing the bottom edge of the previously drawn triangle to a quadratic Bézier curve, with the midpoint at (1,1), to draw a shape resembling a rounded corner. Modify the path_data as follows:
uint8_t path_data[] = {
    2, 0, 0,
    4, 0, 1,
    6, 1, 1, 1, 0, // Quadratic Bézier curve, control point (1,1), draw to (1,0)
    4, 0, 0,
    0
};
To better observe this curve, increase the scaling factor, say to 500 times, and adjust the translation to approximately center the shape on the screen.
vg_lite_translate(buffer.width / 2., buffer.height / 2., &matrix);
vg_lite_scale(500., 500., &matrix);
The final drawn shape looks like this:

Bitmap Fill#
When you are not satisfied with single-color filling, you can use a bitmap to fill. The bitmap will be rendered to the target position, but the bitmap also needs to be a vg_lite_buffer_t. If you need to load from local JPEG/PNG files, it is recommended to use an off-screen buffer to store the pixel content and use vg_lite_blit or vg_lite_draw_pattern for rendering.
Gradient#
For VGLite, gradients are a special type of bitmap fill. The linear_grad related functions allocate a 1x256 buffer for BLIT. Users can ignore these details and just use them. Refer to the linearGrad demo. The specific process can be divided into the following calls:
vg_lite_init_gradinitializes a gradient.vg_lite_set_gradsets the colors and stops, supporting up to 16 stops.vg_lite_update_gradupdates the gradient.vg_lite_get_grad_matrixgets the pointer to the gradient’s transformation matrix.Adjust the transformation matrix, such as rotating and scaling. The default length is 256 pixels from left to right. If you need a gradient in another direction, use this matrix to operate.
vg_lite_draw_gradientdraws the gradient.